Sunday, October 2, 2011

Circle


I'm not exactly sure what to call these. They are a cross between a pillow and a bean bag chair. We just call them circles. We use them for circle time. The blue one is Landon's and the pink one is Lena's and the goal is to get them to sit on them during circle time and pay attention (both of them struggle with that, but they are learning). They are fun for playing on too.

Monday, September 12, 2011

t-shirt


That pretty much says it all.


For the method I used, see my link here.

Sunday, September 4, 2011

BYU skirt

The college football season has just begun! A few days ago as I was thinking about that I looked through everyone's closet to find our BYU clothes. I found shirts for everyone, except Lena. I know we have one her size, but it must be hiding in some box of boys clothes somewhere. I found myself wishing I had some BYU fabric, but I don't live in Utah and you definitely can't find any of that around here. Then I remembered the fabric my MIL gave me a while back and thought I might possibly remember seeing some in there. So I sifted through the box and found a few scraps of BYU flannel. Yay! First I sketched a dress, but then I realized I didn't have enough fabric for a dress. So, I sketched a romper. But working with directional fabric, the scraps weren't big enough the right direction. At that point I could almost hear Tim Gunn "Make it work." haha (maybe I've watched too much Project Runway) So, I sketched a skirt and cut out a pattern piece, but I was just a little short on fabric. I reworked it one more time and came up with an idea that would work. I ended up with twelve panels of alternating fabric -a soft denim and the flannel BYU print. And an elastic waistband. It ended up being pretty simple, but the challenge was in designing. I had fun and it ended up pretty cute. I think it helped the Cougars win on Saturday too (someone had to put forth an extra effort).


Go Cougs!


Lena is impossible to take good pictures of.


She has too much fun.


And the only one I got of her smiling is this one-


Silly Girl!

Wednesday, August 24, 2011

ROMPER

I am so excited about this new romper I made for my daughter! I love all the rompers I have been seeing around the blogosphere, so I decided to come up with one of my own.

I found some fabric that I had been given a while back. I know some people may think the fabric is a little much, but I totally love it. I got a pair of Lena's pants that were a good length on her and loose enough for movement (some PJ pants). I laid them out on the fabric.

I cut around the pant leg making sure to leave enough for the seams and hem. I measured Lena's torso and extended the piece that much on the top, making sure to leave enough for the seams and top casing.

Then I used that as a pattern to cut the second piece, just like it.

Then I measured how far down on Lena I wanted the arm holes to go (4 inches), and I cut those out.

Then I unfolded the two pieces and laid them on top of each other right sides together. Then I pinned them along the front and back seams and sewed them.

Once those were sewn I pressed the seam open, unfolded the piece and pinned the leg seams and sewed them.

Then I clipped, turned and pressed the arm holes.

And sewed them down with two lines of stitching.

This is what it looked like at that point.

Then I turned down the top front to create a casing (1/4 inch then 1 inch) and stitched two lines. Then I did the same thing to the top back.

Then I hemmed the bottoms of the pants (also with two lines of stitching). And found ribbon I liked and pulled it through the casings. Ta Da!

Here is the back.

And the front.

Close up of the side.

Close up of the front.


It makes me so happy! The fabric and ribbon were both given to me a while back, so - free. And I made the pattern myself! I can't wait to play around with it and maybe make one that is shorts or with ruffles or pockets, oh the possibilities! So stinkin' cute! :)

Boys' T-shirts

I've been wanting to embellish some boys t-shirts for a while and finally got around to it. I was originally wanting to do a method I've seen using bubble wrap, but then I discovered that I had the wrong kind of bubble wrap. So, I tried something else. This (the gray) is a spray bottle method. First I used my Silhouette SD to cut freezer paper and ironed it to the shirt. Then I mixed water and fabric paint in a squirt bottle and sprayed it onto the shirt. After it dried I pulled off the freezer paper. It turned out alright, but I admit it is not my favorite. I still want to try the bubble wrap thing. Anyway, after that I still had the negative of the freezer paper and decided to use it on a shirt for my baby boy. I just ironed it on, painted with blue fabric paint, let it dry, then pulled off the freezer paper. This one is actually on the back of a t-shirt. Both methods are very quick and easy.


Tuesday, August 16, 2011

Spring/Summer decoration


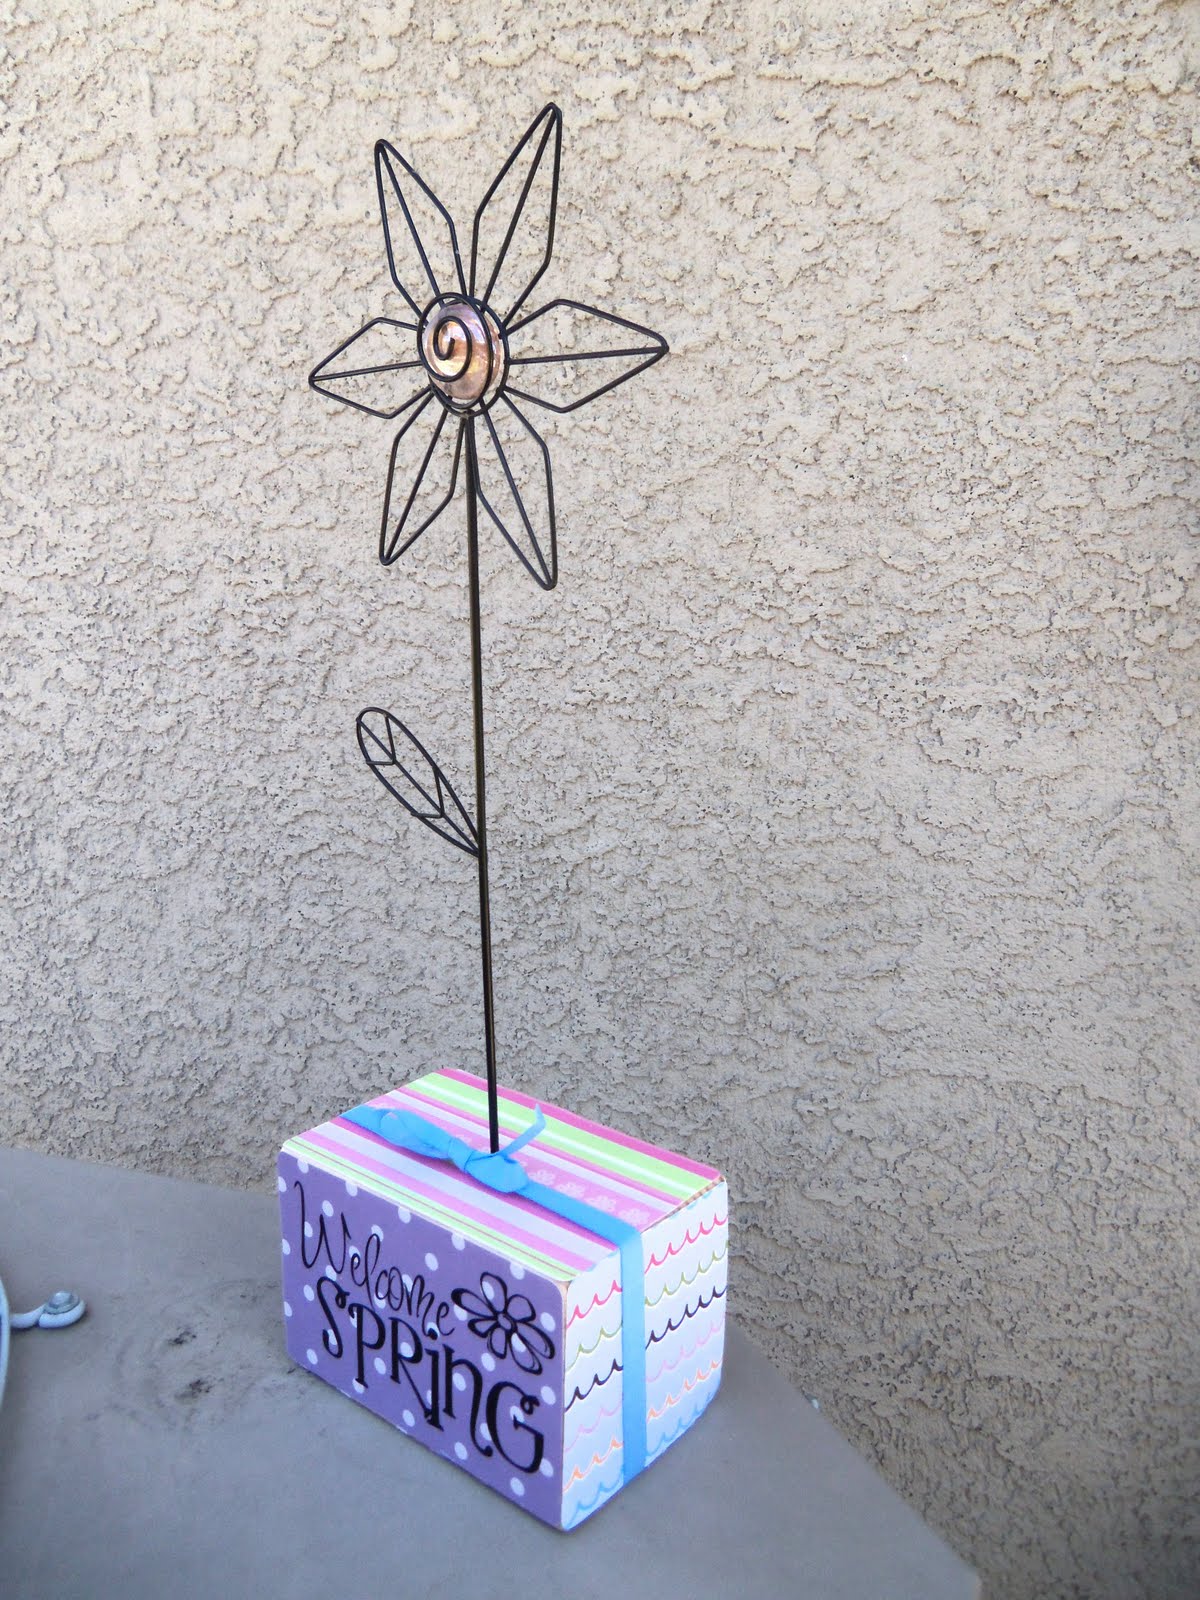
Recently we went out to my parents house and had a little family reunion with all my siblings and their families. It was a wonderful time and we did a lot of fun things. For one afternoon while all the guys went out dirt biking my sister put together a craft for us girls to do. This cute deocration is pretty simple. We took a block of wood and sanded it down so that the edges were pretty smooth. Then we mod podged some scrapbook paper to the five sides that show. After that dried we applied the vinyl lettering. Then we drilled a hole in the top and put a flower garden decoration in. Lastly we tied a cute little ribbon around it. It can be used half of the year because one side says "Welcome Spring" and when you turn it the other side says "Lazy Summer Days." Super cute and fun to make!

Wednesday, August 10, 2011

Tiered Skirt


I got to test out another pattern for Amy (http://naptimecrafters.blogspot.com/, http://www.etsy.com/shop/peekaboopatternshop). This time it was a tiered skirt. I thought it turned out cute. So did Lena, she liked it so much she wouldn't let us take it off her to go to bed.